


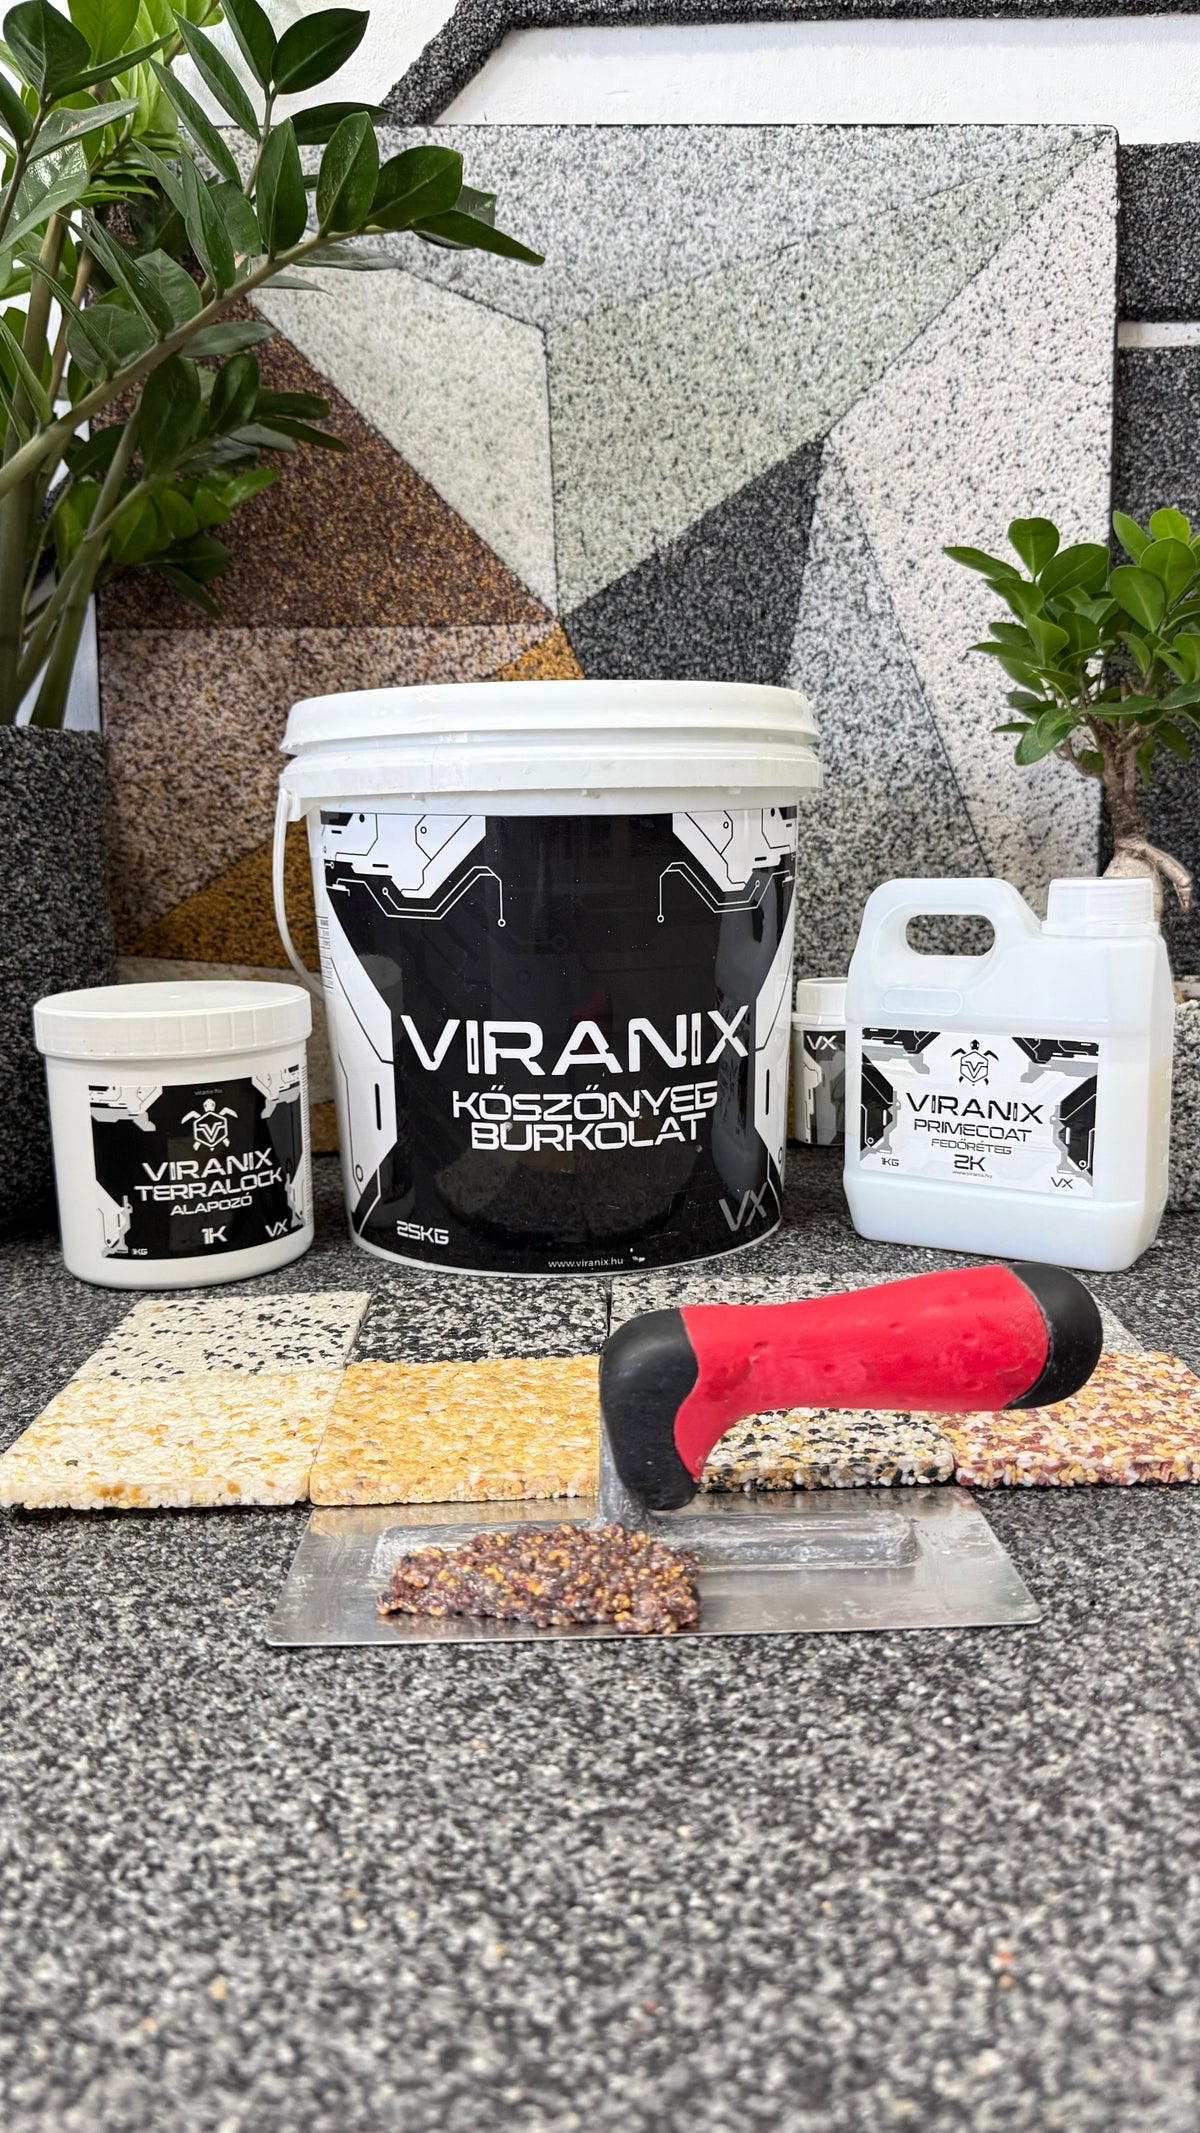
VIRANIX stone carpet is factory pre-mixed: no weighing out, no mixing-ratio errors – you only need to stir it thoroughly before use. But the look of the surface is not created by the bucket; it is created by your hands.
In this guide we go through the installation: what needs to be prepared, how to spread and compact, how much material you need, what happens in hot weather, and why the surface turns patchy if you go back to an area that has already started to set. Throughout, we also explain what is happening inside the material – so you don’t have to memorize the rules, you understand them.
What decides the end result?
Stone carpet is a mix of natural marble pebbles and a water-based binder, factory pre-mixed. In the bucket, every grain is coated with binder; your job is to get this mix into place at the same thickness and the same compaction everywhere before it starts to set.
Every rule follows from this. Three things determine the look of the surface:
1. Layer thickness
Where it is thicker, it cures at a different rate – and will look different too.
2. Compaction
This gives the closed, level surface and the load capacity. It is not a separate step: it is part of spreading.
3. Section boundaries
Where a working section ends, there will be a joint. What matters is where it is.
1 Before you open the bucket
Stone carpet does not hide a poor substrate. Whatever you leave underneath, you will discover on the surface as well – only later, when it is hard to fix.
The substrate
The substrate must be stable, load-bearing, clean, dry and free of dust and grease, with no loose or flaking layers. Concrete, screed and stable old tiles are all suitable, as long as they do not move or crumble. Roughen smooth, dense concrete; matt down glossy, glazed tiles and apply the quartz-sand BETOGRIP bonding bridge; then remove the dust with an industrial vacuum cleaner.
These need a solution first
- dusting, crumbling, flaking surface – stabilize and repair,
- moving or structural cracks – treat the cause, don’t cover it up,
- oily, greasy surface – degrease, then let it dry completely,
- a terrace that puddles and has no fall – sort out the drainage before laying, because the surface cannot withstand standing in water permanently.
Do not prime a freshly washed, wet substrate – wait until it is completely dry. Never use 1K stone carpet on a substrate with rising ground moisture; the maximum substrate moisture is 9%.
The primer: TERRALOCK 1K
TERRALOCK 1K binds any remaining dust and provides adhesion beneath the stone carpet. Approx. 150 g/m², in one coat, applied evenly with a roller. Do not let it pool: where it collects, a glossy, closed film remains that bonds less well. Before the next layer, wait until the primer has dried properly: 4–12 hours.
The plan: where will the section boundaries be?
The most common source of mistakes is a job that is planned as it goes along. Before you prepare anything, decide:
- where the natural section boundaries will be: door line, change of floor covering, edge trim profile, corner, end of a step,
- in what order you will work so you never have to cross a fresh surface (work towards the exit),
- where the clean zone will be: for preparing the material and cleaning the tools.
On complex surfaces (stairs, many corners, columns, changes of floor covering) the time and material requirement increases too. Here, sectioning and an extra allowance are not a luxury, but a basic requirement.
2 Preparing the material
Stone carpet is ready to use, but it is not an “open and pour” product. Stir every bucket at low speed with a mixing paddle until it is uniform. If one bucket is stirred and another is not, the two sections will differ in shade.
Changing buckets: for one continuous surface, work from the same production batch wherever possible, and always open a new bucket at the start of a section, not in the middle of the surface. This is natural pebble: tiny differences in shade can occur between batches, and they show most in the middle of a strip.
During storage and work: do not leave the bucket in direct sun, and keep dust and foreign grains out of it. Use opened packaging as soon as possible, and put the lid back on during work too. Storage range +5 to +35 °C, protected from frost and from radiant heat above 40 °C.
The tools you really need
For application
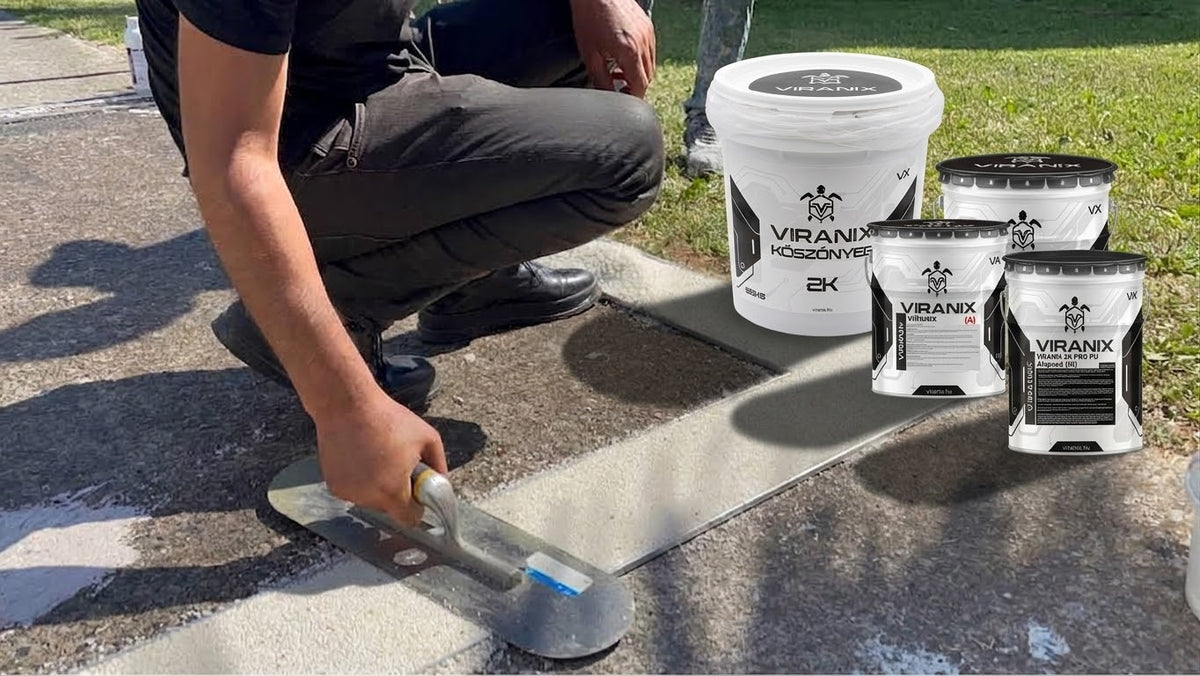
Stainless steel trowel (the most important), a smaller stainless steel float or Japanese spatula for details, mixing paddle + drill at low speed.
For preparation
Industrial vacuum cleaner, broom, hand brush, degreaser, sander, repair material, spirit level or laser for the fall.
For finishing and protection
Edge trim profile matching the required layer thickness, masking tape, gloves, safety goggles, knee pads.
3 Spreading and compacting
This is the heart of the article. With stone carpet, spreading and compacting are not two separate steps: compacting is part of spreading. It is done with the same trowel, in the same sequence of movements.
Don’t dump the material in one spot
If you pour one big heap into the middle of the section and spread it out from there, two things happen at once: most of the material stays where the heap was, and it “runs out” towards the edges of the section. The result is a wavy surface of varying thickness and shade.
Instead: distribute several smaller batches across the section, roughly the same distance apart, and pull them together. That way the very first stroke gives you nearly the final thickness, and there is much less “adjusting” to do afterwards.
Compaction is not optional
Compaction is what arranges the grains against each other and fills the voids between them. Without compaction the layer remains loose: it contains more air, its load capacity is lower, and surface grains can work loose over time. On top of that, a loose surface “soaks up” the topcoat and clears unevenly.
A good stroke uses moderate, even pressure. Pulling too hard displaces the grains and leaves marks; too little pressure leaves a loose surface with sparser and denser patches.
The pebbles need to be smoothed down
After spreading, a few grains always remain “standing” or sticking out of the plane. While the material is still fresh, gently press them into the surface with the trowel. If they cure sticking out, they will later break out, the surface will be sharp and uneven, and the topcoat will not be able to lie evenly on it.
Finish corners, areas next to profiles and door frames with a smaller stainless steel float. Experience shows that most cosmetic defects are created in exactly these places.
4 Layer thickness and material quantity
Layer thickness is not a cosmetic question but a matter of load capacity. And if it is not even, it shows on the surface.
| Use | Thickness | Consumption | 1 bucket (25 kg) |
|---|---|---|---|
| Walls, plinths | 2–4 mm | 6–9 kg/m² | approx. 3–4 m² |
| Foot traffic | 4–6 mm | 9–12 kg/m² | approx. 2 m² |
| Vehicle traffic (medium grain) | 6–8 mm | 12–15 kg/m² | approx. 1.7–2 m² |
On complex surfaces and uneven substrates (stairs, many corners, wavy surfaces) allow approx. 10% extra, because consumption increases there. For vehicle-traffic surfaces on an uneven substrate, plan with the upper end of the range.
Grain-size rule: fine-grain (1–2 mm) material is made for foot traffic and decorative use and is not suitable for vehicle traffic. For drive-over surfaces, plan with medium-grain material, at 6–8 mm, sealed with the PRIMECOAT 2K PRO topcoat.
Why does a thicker patch turn a different color?
Same material, yet a different shade – this is one of the most common complaints, and it can almost always be traced back to layer thickness. Where the layer is thicker, there are more grains and more binder on top of each other, and the thicker part releases its water more slowly, so it cures at a different time and in a different way from the thinner strip next to it. The result: deeper, darker-toned patches, typically exactly where the heap of material was, or where the substrate is lower.
How to keep the thickness consistent
- level out unevenness in the substrate beforehand – don’t “fill it up” with stone carpet,
- use an edge trim profile matching the required layer thickness: it guides the trowel at the edges,
- on larger areas, check the thickness from time to time (with a stick or gauge),
- work from several small batches, not from one heap.
5 Heat, cold, humidity, wind
The binder of stone carpet is water-based: for it to cure, the water has to escape at a controlled rate. That is why the working window is not a recommendation, but a technical requirement.
What happens in hot weather, above 30 °C?
Water escapes from the surface faster than you can work. This has several visible consequences:
- the open time is shorter: the edge of the section is already setting by the time you reach the other end, and the joint becomes visible,
- the free binder around the top grains runs out, so they bond less well: dusting, grains pulling out, lighter “dry” patches,
- trowel marks and uneven pressure show up more sharply,
- a surface in direct sun is much warmer than the air: even on a 25-degree day it can easily heat up to well over 30 °C,
- the material in a bucket standing in the sun also warms up and becomes harder to work.
Summer routine: work in the early morning or late afternoon, when the surface is in the shade. Shade the work area, keep the bucket cool, choose smaller sections and, if possible, work in pairs: one person spreads, the other smooths behind. Don’t start in strong wind or dust.
And in cold or humid conditions?
Below +10 °C, curing is delayed or does not complete properly: the surface stays vulnerable for a long time, and the final strength may also be lower. Above 80% humidity the water cannot escape and curing slows down. Outdoors, avoid windy and wet weather – wind carries dust into the fresh surface, and rain can wash out binder that has not yet cured.
6 What you must not go back to
You’ve finished a strip, you step back and spot a small unevenness. Your hand automatically heads back with the trowel. This is the movement that causes most patchy surfaces.
After a while – sooner in hot weather – the surface of the fresh layer starts to set. If you go back over it at this point, the trowel displaces grains that have already settled, tears the top layer that has started to cure, and the texture and gloss of the surface change. This patch will still show when everything else has cured, and the topcoat will later emphasize it.
1. Fresh
Can be freely spread, compacted and smoothed. Make every correction now.
2. Starting to set
Don’t touch it. Every movement leaves a mark and a difference in shade.
3. Cured
Now it only needs protecting. A repair at this stage usually means redoing the whole section.
The solution is not repair, but pace: smaller sections, a continuous fresh edge, and always work towards the area that is still wet. If you can’t reach it while it’s fresh, don’t force it.
7 Section boundaries and continuing the next day
A larger area can rarely be finished in one go. That is not a problem in itself – you just need to know that wherever you stop, there will be a joint.
The two sections cure under different conditions: different temperature, different humidity, different time of day, and possibly material from a different bucket. As a result, a difference in shade may remain at the joint. If this line runs across the middle of the terrace, it will be visible forever. But if it is on a door line, at a change of floor covering, at an edge trim profile, in a corner or at the end of a step, it looks like a natural boundary.
If you split the job over two days
- mark the section boundary in advance and, if possible, align it with a profile, door line or change of floor covering,
- try to work in similar weather and at a similar time of day on both days,
- work from the same batch and stir every bucket the same way,
- at the start of the second day, butt up precisely to the cured edge, but don’t work over the old surface.
8 Curing, protection, load capacity
The surface keeps working even when you have stopped. During this period, the most important task is to leave it alone and protect it.
-
During curing
Protect it from dust, rain, dirt and from being stepped on. Outdoors, fence off the area. -
24–48 hours (20 °C)
The surface becomes walkable. -
Full cure
Indoors this can take 4–5 days. Longer in colder, more humid weather. -
5–7 days
Vehicle traffic only after full cure.
The PRIMECOAT 2K topcoat may only be applied after the stone carpet has fully cured. If you seal the surface earlier, the moisture trapped inside causes milky, opaque patches in the topcoat. We have a separate guide on this: Sealing stone carpet with PRIMECOAT 2K topcoat.
Without a topcoat the surface remains open-pored: dirt can settle in it more easily, and it cannot withstand standing in water permanently. That is why the 1K system always gets a PRIMECOAT 2K topcoat – and PRIMECOAT 2K PRO for vehicle traffic.
Troubleshooting: what do you see, and what caused it?
Patches or strips of different shades
Likely cause: uneven layer thickness, material spread from one heap, buckets stirred differently, different batches, or sections that cured on different days or at different times of day.
Prevention: several small batches, consistent thickness, the same batch, every bucket stirred thoroughly.
Wavy, uneven surface
Likely cause: uneven substrate, skipped leveling, varying pressure on the trowel, too large a section at once.
Prevention: level the substrate, edge trim profile, even pressure, smaller sections.
Protruding or loose grains
Likely cause: missing compaction, no smoothing down, or the free binder at the surface ran out in hot weather.
Prevention: compaction as part of spreading, pressing protruding grains in while fresh, a cooler time of day.
Trowel marks, glossy and matt patches
Likely cause: going back to an area that had started to set, or pressing too hard in one spot.
Prevention: fresh edge, working in one direction, not touching areas that have started to set.
Visible joint between days
Likely cause: the section boundary is in the middle of the surface, and the two parts cured under different conditions.
Prevention: section boundary aligned with a door line, profile or change of floor covering.
Delamination, poor adhesion
Likely cause: dusty or greasy substrate, skipped primer, work on a damp substrate or one with rising ground moisture, a moving crack.
Prevention: thorough preparation, TERRALOCK 1K primer, a dry substrate (max. 9% moisture), treating the cause of the crack.
Dusting, loose surface
Likely cause: uncompacted layer, work below +10 °C, or rain or humidity reached the fresh surface.
Prevention: proper compaction, staying within the working window, protection during curing.
Frequently asked questions about installing stone carpet
How much material do I need for my terrace?+
For foot traffic at 4–6 mm, allow 9–12 kg/m² – one 25 kg bucket covers approx. 2 m². A 12 m² terrace therefore needs approx. 6 buckets, or 6–7 with the approx. 10% extra allowance for complex surfaces.
Can I apply it over old tiles?+
Yes, if the tiles are stable, do not move and are not hollow. The glossy, glazed surface must be matted and the dust removed, then the quartz-sand BETOGRIP bonding bridge is applied, followed by the TERRALOCK 1K primer.
When can I walk on it, and when can I drive on it?+
At 20 °C it is walkable after 24–48 hours. Indoors, full cure can take 4–5 days. Vehicles only after 5–7 days, and only with medium grain at 6–8 mm and a PRIMECOAT 2K PRO topcoat.
Is the topcoat mandatory?+
Yes. The 1K system always gets a PRIMECOAT 2K topcoat, and PRIMECOAT 2K PRO for vehicle traffic: it seals the pores and makes the surface easy to clean and resistant.
Can it be applied to walls?+
Yes – on plinths, columns and feature walls, typically at 2–4 mm with fine-grain material. Even spreading and compacting are harder on vertical surfaces, so an experienced hand makes a big difference here.
What if it starts raining while I’m working?+
The fresh surface must be protected from rain while it cures. If rain is forecast, it is better not to start: water can wash the binder out of a layer that has not yet cured, leaving a patchy, dusting surface.
Checklist for installation day
- The substrate is stable, clean, dry (no rising ground moisture) and dust-free, and the fall is right.
- The TERRALOCK 1K primer has been applied (approx. 150 g/m²) and has dried.
- It is between +10 and +30 °C, max. 80% humidity, with no direct sun, wind or rain.
- I have marked the section boundaries and the working direction towards the exit.
- There is enough material from the same batch, and I stir every bucket.
- I distribute several small batches rather than pulling from one heap.
- I spread and compact in one go, with even pressure and a consistent thickness.
- I smooth down protruding grains while fresh and finish details with a small float.
- I don’t go back to areas that have started to set.
- I fence off and protect the finished surface while it cures.

VIRANIX stone carpet
Factory pre-mixed, one-component, in 25 kg buckets, in more than 20 colors.
View colorsOther components of the system: TERRALOCK 1K primer and PRIMECOAT 2K topcoat. Have a question about the installation? Our technical support helps contractors and private customers alike: +36 70 575 5500 (Mon–Sun 9:00–18:00), info@viranix.hu.
Share:
VIRANIX Stone Carpet in Bathrooms and Showers: A Seamless, Spa-Like Surface
Slip-resistant, water-permeable surfacing: VIRANIX 2K PRO
1 comment
Skamol kandalo burkolatra alkalmazható?
Mik a hőtűrési paraméterei?
A kandalo skamol anyaga 60-80 fokig melegszik at az also 5 cm tartomanyban